Getting Started with Arduino Uno- a setup guide for linux users
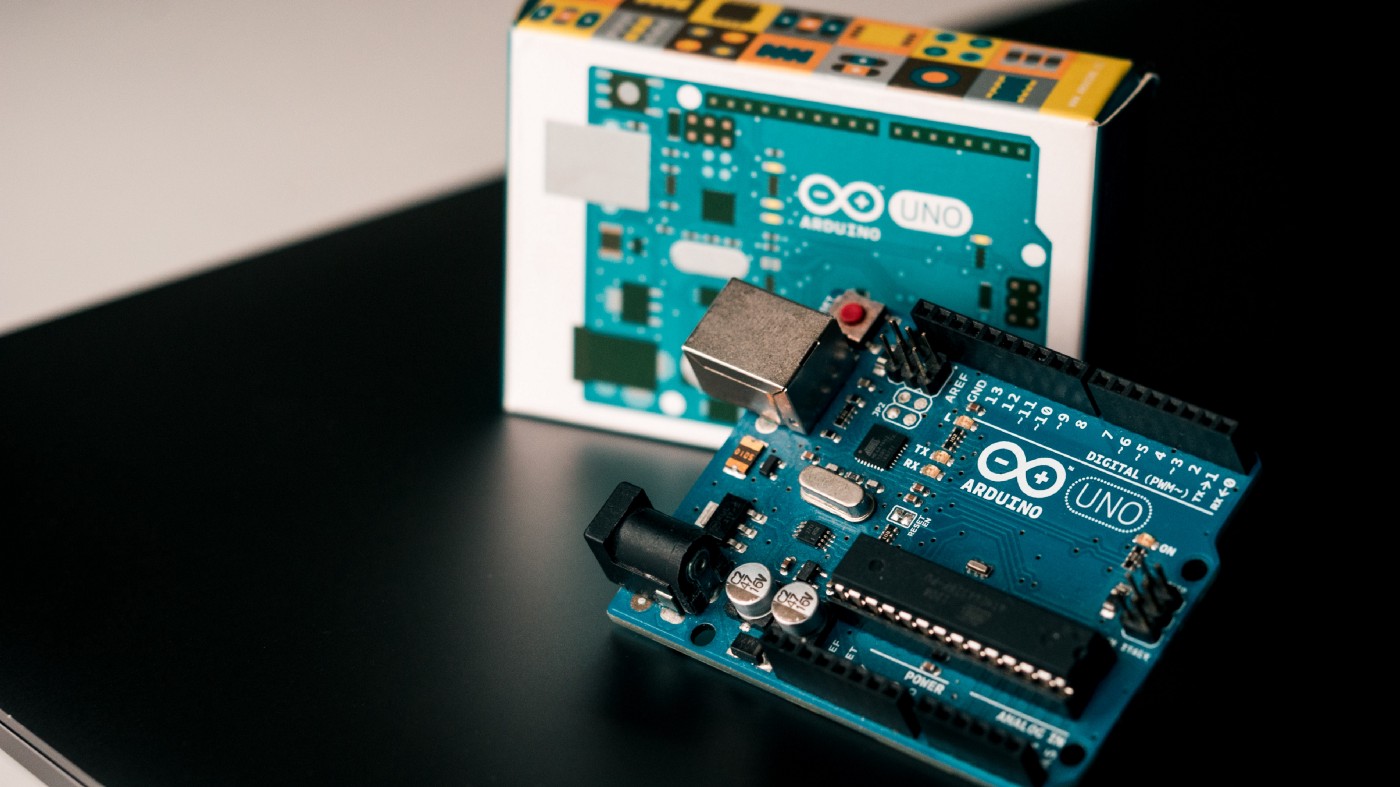
Photo by Harrison Broadbent on Unsplash
“Arduino is an open-source electronic prototyping platform enabling users to create interactive electronic objects.”— Arduino Official Documentation.
I have owned an Arduino UNO for quite a long time but never really documented things that have led to me forgetting a lot of it. However, as I reached the realization phase now, I decided to unbox all the electronics and microcontrollers I bought in my college days out of some fancy interest and just help myself and others. Thus, this journey cum documentation.
Arduino is an open-source hardware and software company that manufactures a wide range of microcontroller boards to assist you in your electronics projects. It consists of a programmable circuit board (or microcontroller) and an IDE (integrated development environment) that runs on our PC so that we can interact with the Arduino and vice versa.
Arduino boards come with many choices like NANO, MEGA, UNO, etc., but Arduino UNO seems to be the most popular one for beginners.
Few important points before we start:
- You can buy the Arduino UNO board here. This is the original board which is more on the costlier side. However, you can also use an Arduino clone which will cost you less than half of the original and also quite well. I am myself using one of them.
- If you want more than to stare at the built-in Arduino LED blinking and be happy, you can buy a few components to get started.
- You can buy — resistors, breadboards, a 5V battery, a few coloured LED’s, jumper wires of all configurations, etc. Components sets like this and jumper wires can serve your purpose as a beginner.
- Another important tool that I think must be present with any electronics enthusiast is a digital multimeter. This will be your most trustworthy friend on this journey.
Arduino runs on cross-platform operating systems viz., Windows, Linux and Macs.
Installation Guides can be found here: Windows and Mac OS. I use an arch based Linux Machine. You can do similar steps for other Linux distros with minor changes like Pacman or apt-get commands which are distros dependent.
#Download the arduino IDE
sudo pacman -S arduino
Arduino has also released its CLI (command-line interface) tool in 2018 which we will talk about in a different blog. This can be used as a replacement for the IDE to program the boards from a shell.
Launch the Arduino IDE and connect your Arduino to the PC via the USB provided along.
Select Tools -> Board “Arduino Uno”-> Arduino AVR Boards -> Arduino UNO.
If you don’t find the Arduino UNO option under Tools->Boards , then select Board Manager under Tools -> Boards and install Arduino AVR Boards.
Select Tools -> Port -> /dev/ttyACM
The following figure shows the Arduino IDE interface with markers.
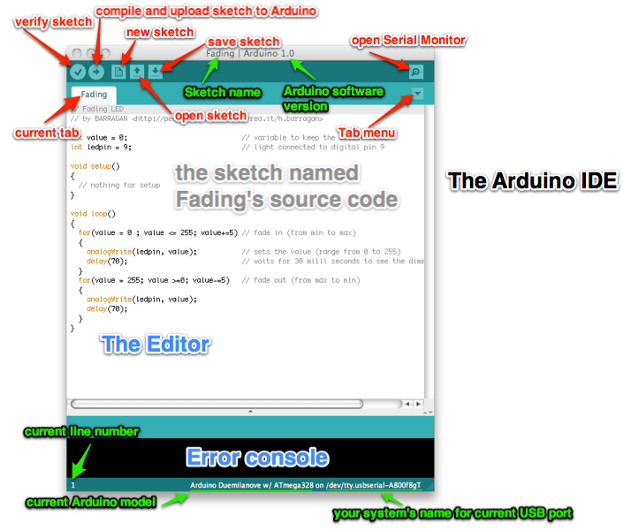
Credits: stemify.weebly.com
Write the following code snippets in the editor area.
void setup() {
// put your setup code here, to run once:
Serial.begin(9600); //set up serial communication
Serial.println("Is this board working?");
}
void loop()
{#Here we write the loop code}
This is the most simple code where we set up a communication between the Arduino and the PC. Any Arduino program consists of two functions the setup function (void setup())which runs only once at the beginning of the execution and the loop function (void loop())which runs interactively.
An Arduino code is referred to as Sketches.
- Setup() Function:
The Serial.begin(9600) sets up or opens the serial communication between the Arduino and the PC. 9600 indicates the “baud rate” of the communication.
The Serial.println(“Is this board working?”) prints the data sent by the board to the PC in the serial monitor.
After writing the code “verify the sketch” and “compile and upload the sketch to Arduino” with the help of the icons in the menu bar.
Linux users might not be able to compile at this point. You might get an error.
avrdude: ser_open(): can't open device "/dev/ttyACM0": Permission denied
or
Error opening serial port '/dev/ttyACM0
“0” in ttyACM can be different for all. I am considering you have the port ttyACM0 for this tutorial.
Go to the terminal and enter the following commands. $ ls -l /dev/ttyACM0 crw-rw—- 1 root uucp 166, 0 Jul 30 23.01 /dev/ttyACM0
The “uucp” after the root in the output should give you the group name. It might be “dialout” as well in some cases.
$ sudo usermod -a -G uucp manpa # add user(manpa)to the group(uucp)
Here manpa is the system username and group name can be found out by the previous commands. $ sudo chmod a+rw /dev./ttyACM0 # set read and write permissions.
Try to recompile the sketch in the Arduino IDE and it must be working well.
Note: If it still shows some issues related to port selection, make sure you again navigate through Tools-> Port->/dev/ttyACM0.
After compiling to check if the communication is set up and you are getting the required output, go to the “Serial Monitor” by clicking the serial monitor icon in the top right corner of the IDE.
The serial monitor window should pop up and show you the println message from the sketch. This implies the Arduino is sending the correct information to the PC and behaving as intended.
Note: The serial monitor will have a baud rates selection menu. Make sure that the baud rate matches the one we wrote in our program. For eg. 9600 bps in this case.
Every time the Arduino resets or power on itself the setup() function will run once. So if you get multiple lines of println, it might be due to multiple reset operations by the Arduino.
Now that everything is ready to use, from the next blog we will go on with some step by step tutorials on small projects we can do using the microcontroller.